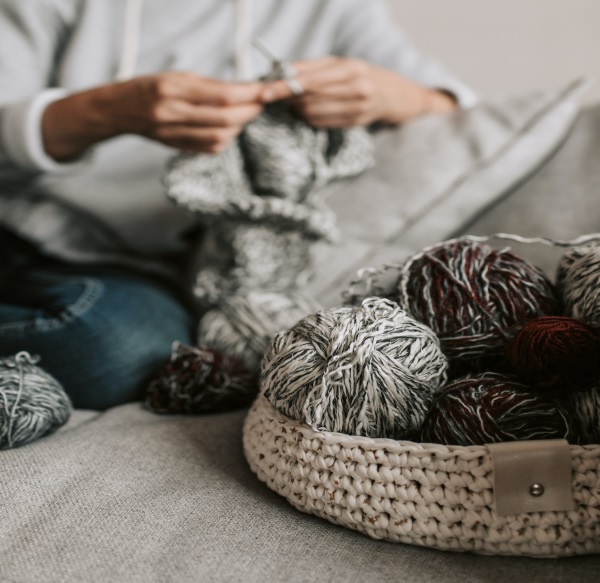
Knitting has long been a cherished skill, passed down through generations, allowing the creation of warm, heartfelt items. From cozy sweaters to soft blankets, the art of knitting has brought warmth and comfort to many. Today, let’s delve into the creation of a knit basket, a versatile and charming addition to any home, providing a cozy spot for your treasures and trinkets.
The Allure of a Knit Basket
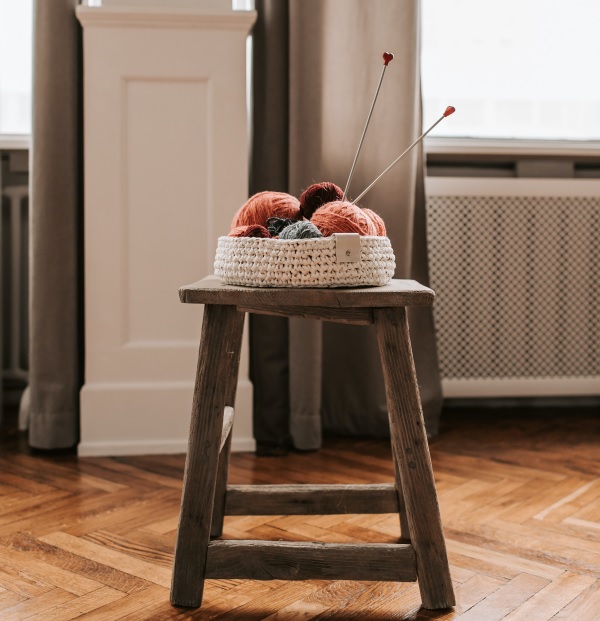
A knit basket is not merely a storage solution; it’s a statement of style and personality. Whether it’s holding yarn, fresh fruit, or acting as a catch-all for miscellaneous items, a knit basket adds a touch of handmade elegance to any space. The texture and design possibilities make each basket a unique creation, reflecting the maker’s style and personality.
Choosing Your Yarn
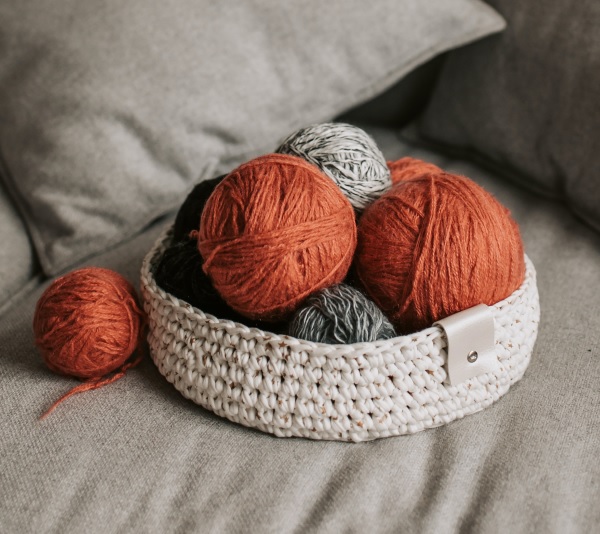
When it comes to knitting a basket, the choice of yarn is pivotal. Opt for a bulky, sturdy yarn that can hold its shape. Cotton yarn or t-shirt yarn are popular choices due to their durability and stiffness. The color and texture of the yarn also play a crucial role in determining the aesthetic of the finished product, so choose a yarn that resonates with your décor and personal style.
Getting Started: Basic Supplies
- Yarn of choice
- Circular knitting needles suitable for your yarn weight
- A stitch marker
- Yarn needle
- Scissors
Basic Knit Basket Pattern
Base of the Basket:
- Cast On: Begin by casting on a number of stitches suitable for the desired base size of your basket. For a standard medium-sized basket, casting on 30 stitches is a good start.
- Knit in the Round: Place a stitch marker to mark the beginning of the round and join to knit in the round.
- Increase Rounds: Increase stitches evenly across the rounds to expand the base until you reach your desired size. This might involve a pattern such as [knit 1, make 1 (m1)] repeated to the end of the round.
Sides of the Basket:
- Build the Sides: Once the base is of desired size, continue knitting without increasing, allowing the sides to build upwards.
- Texture and Design: This is where you can get creative! Consider integrating various stitch patterns like garter, stockinette, or even a cable design to add texture and interest to your basket.
- Continue Knitting: Keep knitting until the sides reach your desired height.
Finishing the Basket:
- Bind Off: Once the basket has reached your desired size, bind off loosely to ensure the edge has some give.
- Weave in Ends: Use a yarn needle to weave in all loose ends securely.
- Add Finishing Touches: Consider adding handles, a liner, or embellishments like buttons or tassels to personalize your basket.
Caring for Your Knit Basket
Handmade items deserve love and care. To ensure the longevity of your knit basket, hand wash it gently using a mild detergent and allow it to air dry, reshaping it while damp. If you’ve used a machine-washable yarn, you may be able to wash it in a laundry bag on a gentle cycle.
Conclusion
A knit basket is not just a functional item but a piece of art that brings warmth and personality to your space. It tells a story of patience, skill, and creativity. Whether you’re a seasoned knitter or a beginner, creating a knit basket is a rewarding project that offers a delightful blend of utility and aesthetic appeal. So, grab your knitting needles and embark on the journey of creating a cozy, handmade haven for your belongings.
Note: Adjustments may be needed in the pattern based on the specific yarn and needle size used, as well as the desired final size of the basket. Always remember to create a gauge swatch to ensure accurate sizing and fit.