2017 Planner Set Up for my Inkwell Press Ringbound Planner
2017 Planner Set Up for my Inkwell Press Ringbound Planner – Thirty-Something Angie
Getting Started with Young Living Essential Oils
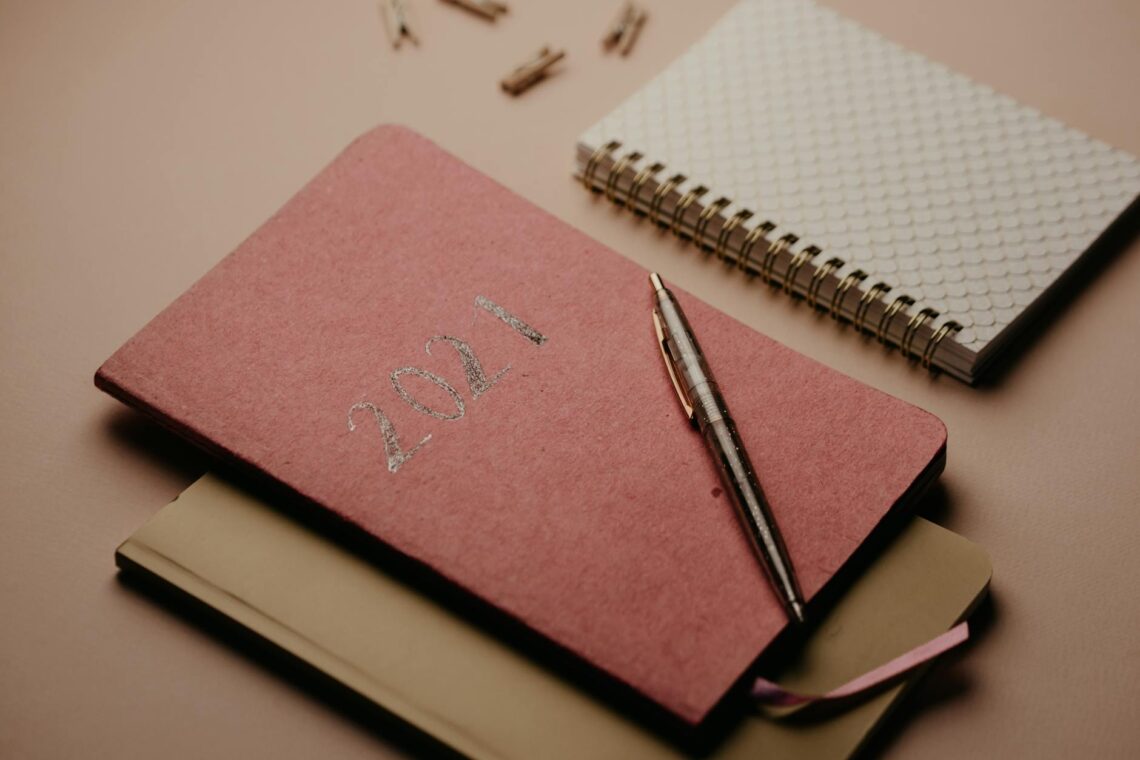
2017 Planner Set Up for my Inkwell Press Ringbound Planner
Hey friends! So, it’s a little late in the year to just be doing a planner set up, right? I know.
So, I’ve been wanting to switch to a ring-bound planner forever. I’m not even sure why I kept buying coil-bound planners. The last one I bought was an academic year Inkwell Press Classic, which I loved…
for the fact that it didn’t start in January!
Getting a new planner is one of my favorite parts of January, so it was a real struggle for me this year to watch everyone else set up their planners while I continued to use the one I’d set up months ago.
Unfortunately (fortunately?), my cat took care of that for me last week! I guess he got a little thirsty and knocked an entire glass of water over onto my planner while it was unattended.
Logically, I know that doesn’t
a planner, but now the pages are warped and the cover is soggy. It was pretty much the thing that put me over the edge to buying a new planner 6 months earlier than I should.
So, now I get a new planner!
My Planner Set Up for 2017
This post contains affiliate links. To find out more, please read my
Since I had some Christmas money left over this year, I decided to splurge a little on myself. I picked up a
Carpe Diem Planner
from Amazon and got my
Inkwell Press Classic Inserts
I am really excited to be able to move things around.
If there is one thing that has driven me absolutely crazy about my coil bound planners, it’s that I can’t rearrange things. I’m not a 2 planner type of person, but I need to be able to plan my personal life and my business life at the same time. When I keep those two schedules in different places, one gets neglected every single time. Trust me, I like planners and planning enough to like the concept of keeping more than one, but I just can’t pull it off successfully.
So, What’s Behind Each Tab?
I love making my planner pretty, so this weekend I made myself some dividers for each section of my planner. I used the paper and tabs that came in the
Scarlet Lime Planner Society box
, which I cut down and ran through my
to make them a bit sturdier.
The sections I’ll be using in this planner include:
Calendar (my Inkwell Press Classic Inserts)
Blog Calendar & Business Planning (
The goals section is one of my favorite parts of setting up a new planner. I love having a chance to write out everything I hope to accomplish. I think this section is pretty self explanatory, so I won’t go into too much detail. Since the Inkwell Press inserts come with a goal-tracking section, I don’t even have to do much. I’ll probably re-label some of the sections to better suit my needs, but I haven’t done anything with it yet!
This tab includes my monthly view, weekly view, and some week-at-a-glance printables for my business.
I know not everyone likes having a monthly and a weekly schedule, but I find it ideal for my needs. My monthly calendar spread is where I plan ahead and keep all of my time sensitive reminders. This can include doctor’s appointments, school functions, pay days, and deadlines.
I do transfer these over to my weekly view as it gets closer, but I also add reminders and other scheduling tasks to these pages.
How I Use My Inkwell Press Planner
I’m only keeping about 6 months worth of weekly calendars in my planner, to save space for the extra sections I’ve added, but I did keep the entire year’s worth of monthly calendars so that I can write in those plans when they come to me.
Blog Calendar & Business Plans
This is a section I’m really excited about. As I mentioned above, I’ve really struggled with keeping my business planning separate, because I just can’t keep up with two planners. However, having it on the same page as my regular weekly schedule just gets too overwhelming and I end up not having enough room! My plan is to keep one week-at-a-glance page behind my current week in the calendar section that gives me a business and blog overviews, and then keep the details separate.
In this section, I will keep a monthly editorial calendar, a social media schedule for each week, a blog post planner, an income and expense tracker, a password sheet, and a few notes pages so that I can brainstorm new products and blog posts to put up. Again, this is all available in the
free printable library
if you want to grab your own! I did re-size mine to print as an A5, so if you need to do that, you can check out this tutorial from Laura at iHeartPlanners
This is another section I’m looking forward to! If you ever noticed my old coil-bound planner layouts, they were always
of to-do lists. I had them on the side as well as all through the week. I also had a ton of lists in my monthly view! This section will be to house all of that away from my schedule. I will clean it out and update it each month, but otherwise it will be running to-do lists that I need to remember. I’ll probably categorize them or date them, but they’ll be totally separate from the rest of my planner.
Your Planner Won’t Help You Get More Done
This will be another new space in my planner. There are so many times that I’m told about something a year (or more!) in advance, and I never have a place to put it. Think doctor’s appointments, big vacation plans, or information for my daughter’s school. I’ll now keep a year at a glance page for 2018 and a blank notes page in this section to keep a running list of important dates that don’t fit in the planner yet.
The miscellaneous section is going to house, well, everything miscellaneous! I don’t have a solid list, because anything I think of that needs planner space but doesn’t fit a category will go here. Some of the pages I have already include:
travel iteneraries
password cheat sheet
debt tracker (to pay off debt)
How to Set Goals You’ll Actually Accomplish
In the back of my planner, I added a few extra dividers, so that if I think of something else I want to add, I have a space for it. I also added a sticky note pad and a small blank journal in the back so I have plenty of places to write notes or extra lists!
What I Used in My Ringbound Planner Set Up
I love looking at planner setups, because it gives me so much inspiration for my own planner. Most of my favorite products have come from them! I put together a list of links for all of the products you see in this post, with links to make them easier to find!.
Carpe Diem A5 Planner in Platinum
Open industrial 6 hole punch
Scotch Thermal Laminator
Inkwell Press A5 Classic Inserts
Scarlet Lime Planner Society Kit